

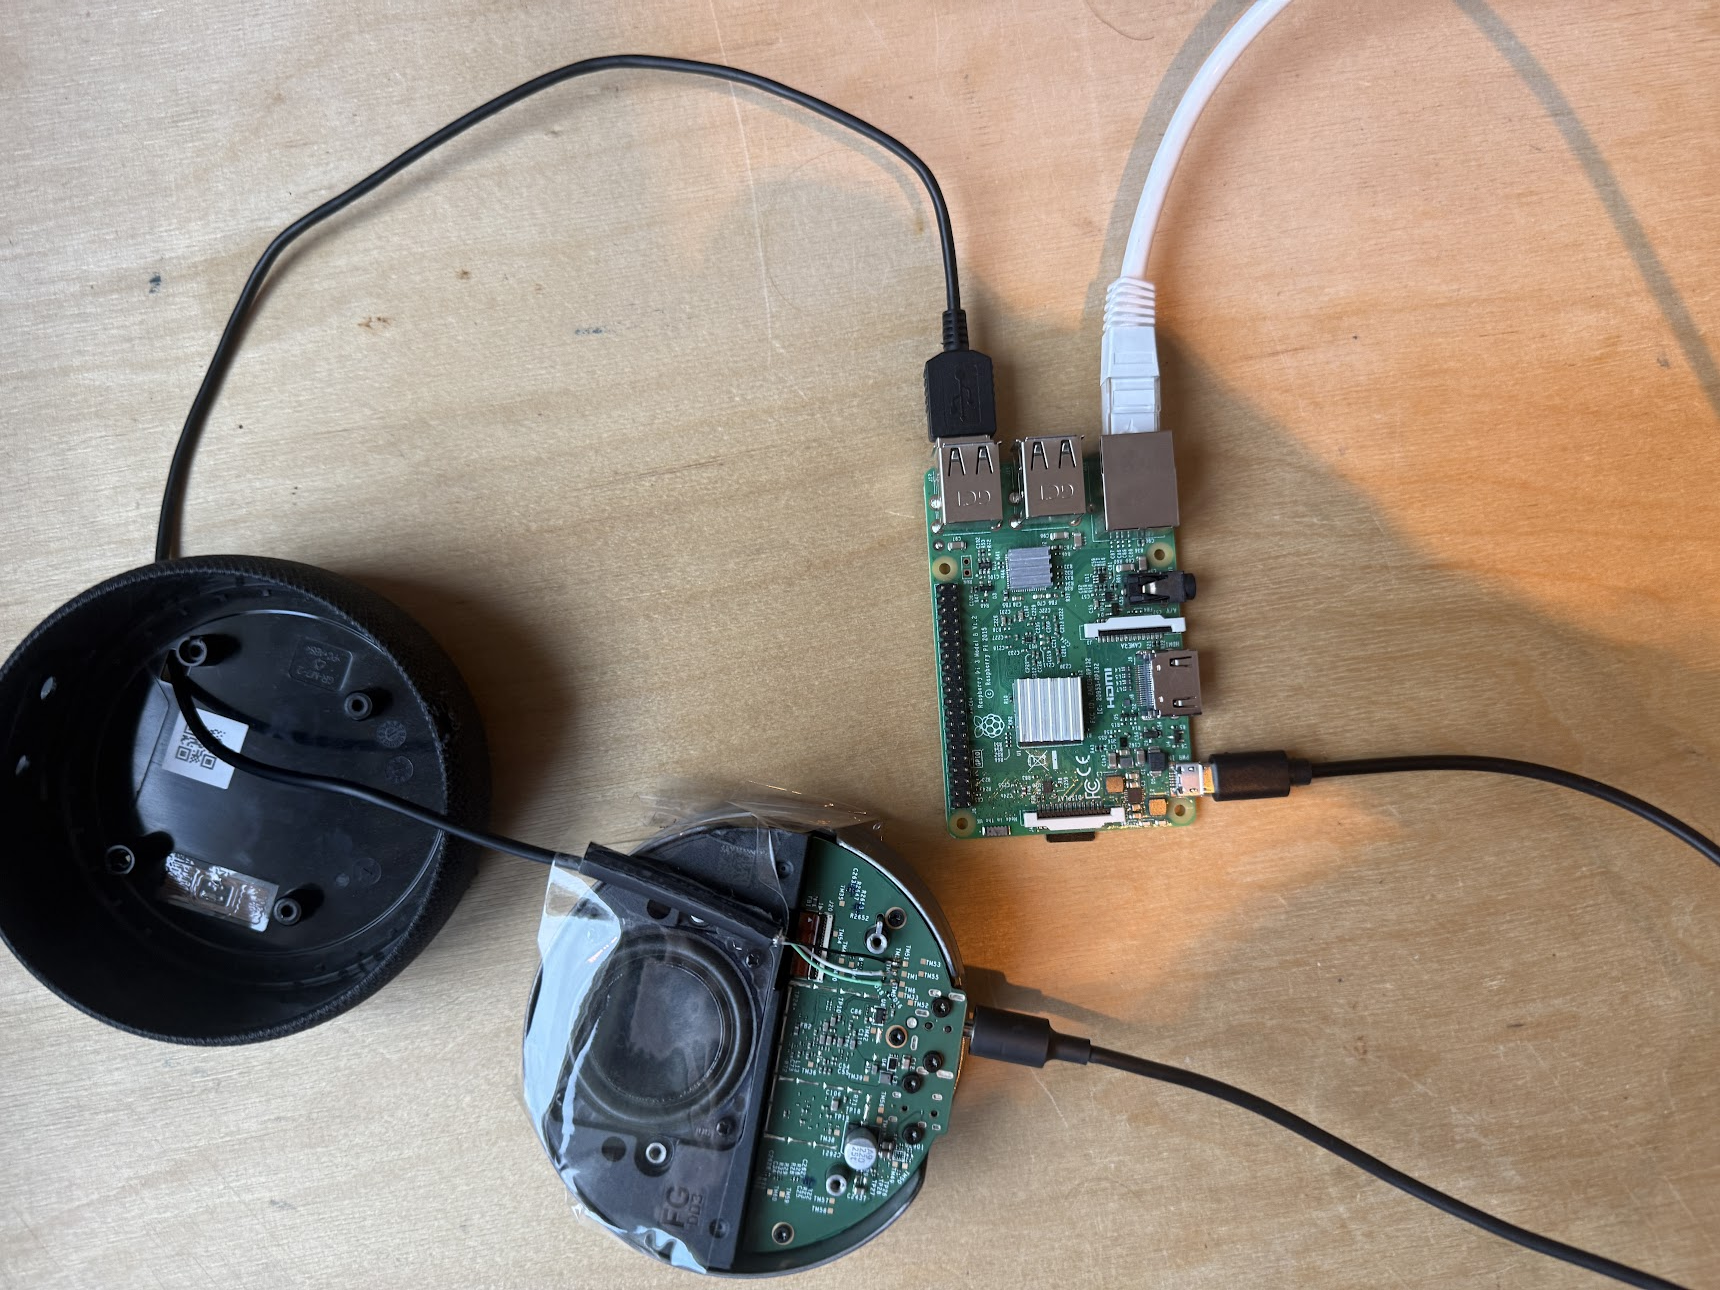
In this essay
I have a Google Home and it is, to put it mildly, not very smart. It does well with voice but the spectrum of things it can do is not very wide, and Google keeps removing features like Dialogflow console integration.
The worst part is that it cannot understand English and Polish at the same time. We have it set to English, which means making it play polish songs our children demand is an excercise in linguistics.
As I am preparing to furnish our new house, I wanted to prototype a smart speaker solution that does what I want and takes advantage of the intelligence that new LLMs offer.
The hardware problem
The software side is solved. Home Assistant has a voice pipeline (Assist), you can plug any LLM into it, and it already controls my lights. The problem is the microphone in the room. I looked at all of these:
- M5Stack Atom Echo / VoiceS3R. I like M5Stack – I am building a little AI companion for my kids on a CoreS3 – but owner reports on the S3R microphone are mixed, and it cannot listen while it speaks. Fine for a desk, not for a kitchen.
- ReSpeaker Lite ($29.90). Two mics and an XMOS chip, decent reports at 3 meters in a quiet room, worse with people talking.
- Home Assistant Voice Preview Edition (€59). The official thing. Owners who had both say it wakes up less reliably than a Google Home and misfires more. Once awake it understands you fine, but the waking up is the whole point.
- Google Home / Nest Mini itself. There are two projects (Onju Voice, MiciMike) that replace the board inside a Nest Mini with an ESP32. Nobody has a software-only root for the stock Google hardware that you could actually install. Google won this one.
The pattern is obvious once you see it: a trillion-dollar company spent a decade on far-field microphones, echo cancellation and wake word detection, and the hobbyist boards are still catching up. Commercial hardware wins, mostly because it’s subsidized by lockin and ousdated software.
Why Echo Dot 3
Old Echos have working Home Assistant conversions on the original board, with the original microphones and Amazon’s own wake word engine. The community favorite is the Echo Dot 2 (EchoMuse, techo5-dot) – you root it over USB, no soldering. I spent an evening going through over 1000 Vinted listings for “echo dot 2” and found exactly four. Most of them were Dot 3s mislabeled by the seller. Dot 2 apparently never made it to Poland in numbers.
Echo Dot 3, on the other hand, is everywhere – dozens of listings between 60 and 120 zł. The echo-dot-assist project supports it, with one catch:
- D9N29T, codename “donut” (the 2018 one): supported. You have to open the case and solder three wires.
- C78MP8, codename “crumpet” (a later revision that looks identical): not supported.
- Dot with clock, Dot 4, Dot 5: don’t bother.
So the shopping rule is: ignore the title, ignore the photo of the device, find the photo of the bottom label. You want D9N29T and FCC ID 2AOAG-3668. If the seller only shows the box, the DSN prefix is a hint: G090U5, G090U6, G090VC are donuts, G090XG, G0911M, G0911W are crumpets. Most sellers include a UK plug, so budget for an adapter. Any 12 V / 1.25 A supply with the right barrel works.

I bought one and set up a weekly search that mails me when another donut shows up for less. I want one in every room, and the first one is the test.
How to do it
Everything below is for the donut. Read the echo-dot-assist docs first, they are good. This is what actually happened in my kitchen.
1. Do not set it up in the Alexa app
Seriously. The moment it gets on Amazon’s network it may update itself to a firmware you don’t want. Unbox it and leave it off.
2. Open it and solder
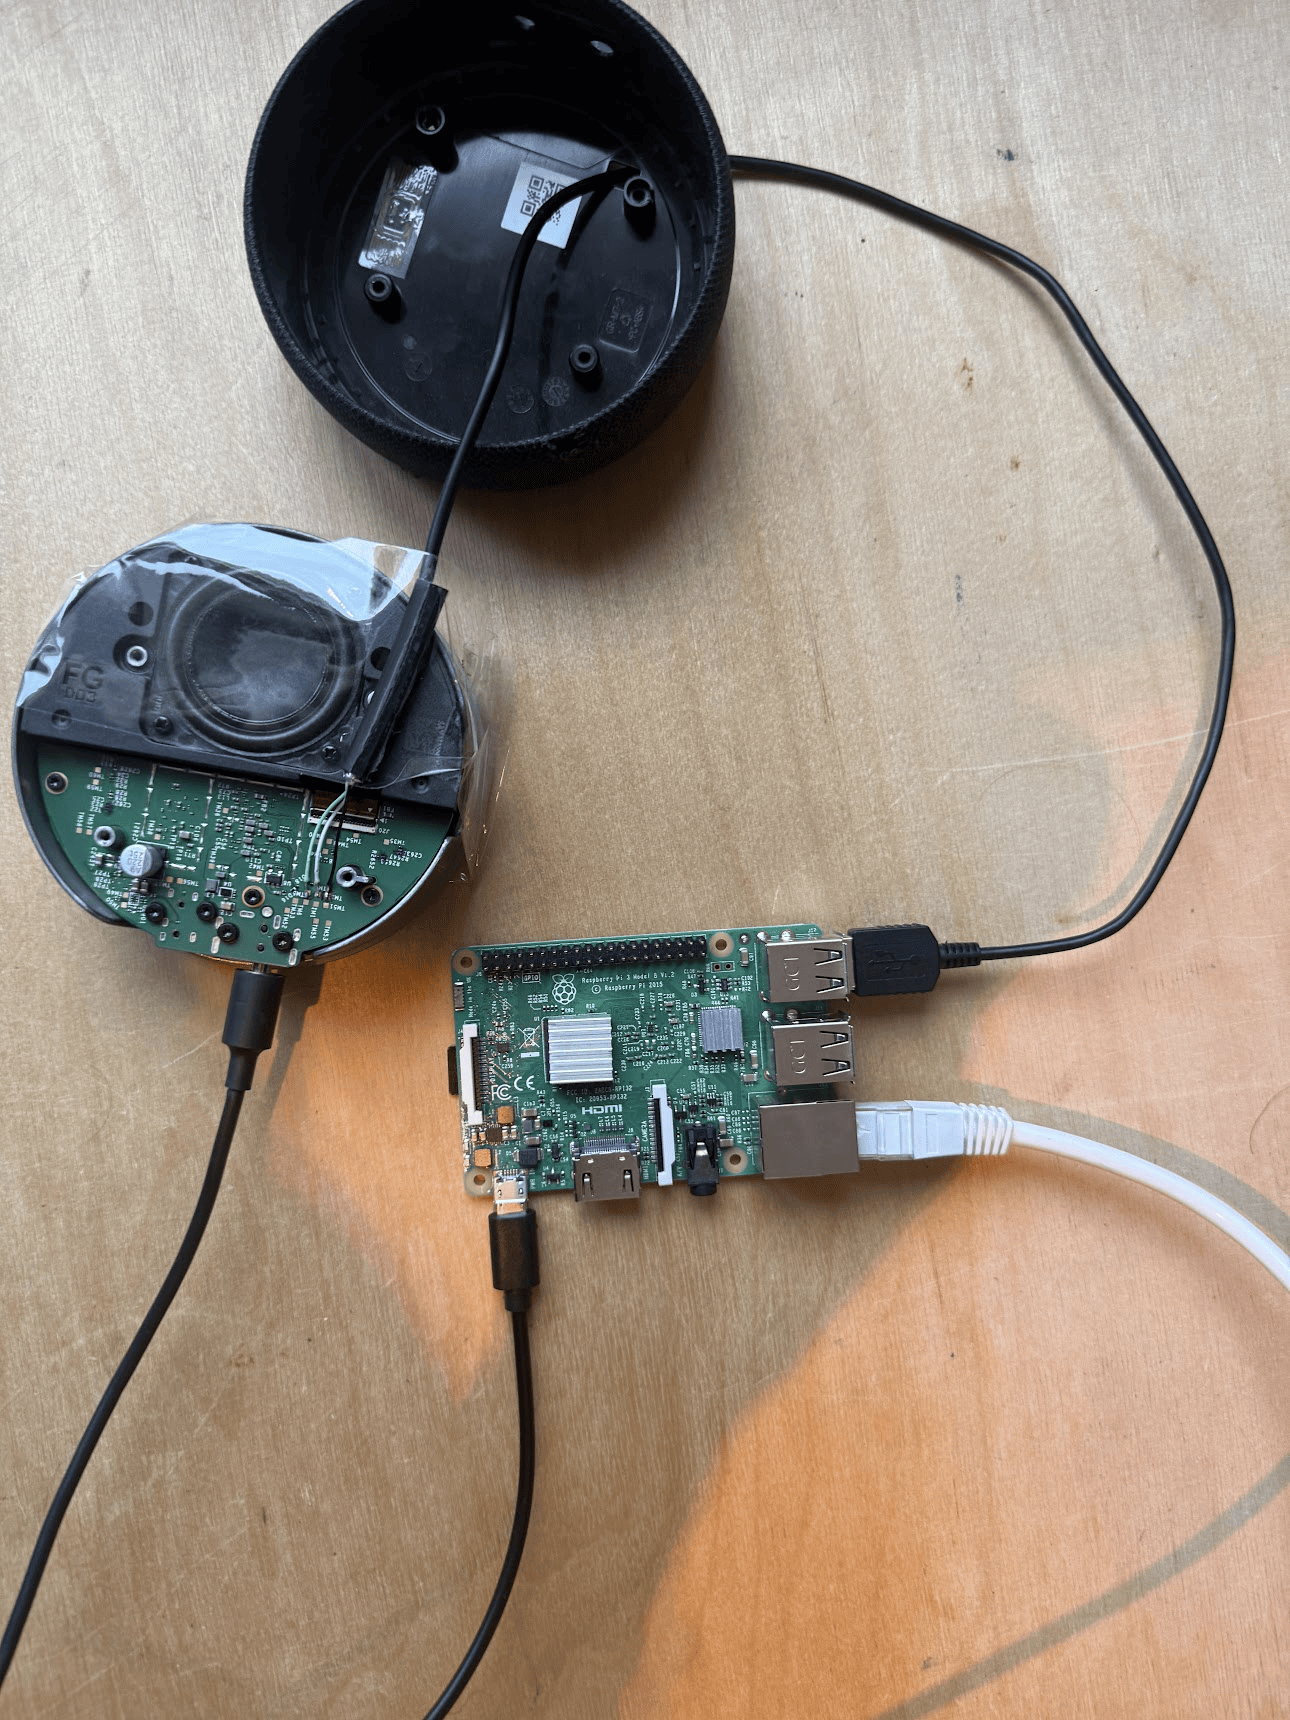
The case is a pain to open. Inside you get a board with a row of test pads labelled TM-something. You need three of them:
TM3→ USB GNDTM4→ USB D−TM5→ USB D+
The red +5 V wire stays disconnected and taped. The Echo is powered by its own adapter the whole time.
My first joints didn’t want to stick to the pads, and the ones that did fell off as soon as I moved the cable. The pads are tiny, the wires are stiff, and I don’t own a multimeter. Second attempt held, and I stopped touching it.


3. You need Linux. Real Linux.
The unlock uses a bootrom exploit (kamakiri) that talks to the chip over raw USB in the first second after power-on. macOS doesn’t work. I also couldn’t find a multimeter to check my soldering so I didn’t want to burn my MacBook in case I made a mistake. So I took the Raspberry Pi 3 out of the drawer. If this goes wrong, I lose a Pi, not a laptop.
4. Unlock, flash, root
- Connect the Echo to your Raspberry Pi
- Give your agent SSH access to said Raspberry Pi
- Tell your agent to do the following:
On the Pi, in echo-dot-assist/firmware/donut/kamakiri/kamakiri/:
- Run
sudo ./bootrom-step.shwith the USB connected and the Echo unpowered. - Hold the dot button and plug in the Echo’s power. The script sees
0e8d:0003, does the handshake, you press Enter. - Run
sudo ./fastboot-step.sh. Now you have TWRP recovery on an Echo Dot. It reports itself asdonut. - In TWRP, wipe, flash the exact Fire OS build the project tells you to (
NS65741in my case) to both slots, then theboot-root.zipto both slots. Check the result after every step, do not switch slots blindly. - Reboot.
adb shellshould give youuid=0(root)anddonut_puffin.
Most of the time is waiting for the second slot to flash.
5. Install hassmic
hassmic is the program that replaces the Alexa client. It keeps Amazon’s microphone processing and wake word detection and presents the Echo to Home Assistant as an ESPHome device. Four scripts, in this order:
scripts/deploy.shlockdown.sh– before the device sees any network. This is what cuts it off from Amazon.scripts/wifi-join.sh– 2.4 GHz only.PREBUILT=1 scripts/install-system.sh– so it starts on boot.
Then in Home Assistant: Settings → Devices → Add integration → ESPHome, with the Echo’s IP and port 26053. Pick a room, choose “Alexa” as the wake word. The light ring, the buttons and the mute switch all show up as entities.

6. Give it a brain
Before I play with Open Source models, I gave it plain OpenAI access to make sure the pipeline works:
- Speech to text: OpenAI
gpt-4o-mini-transcribe, Polish. - Conversation: OpenAI
gpt-6.1-terrawith web search on and reasoning set to low. Short answers, Polish. - Text to speech: OpenAI
gpt-4o-mini-tts, voice “ballad”. - “Prefer handling commands locally” turned on, so “turn off the kitchen light” never leaves the house. Only things the local intent matcher doesn’t understand go to the model.

The wake word is detected on the device, the Echo talks only to Home Assistant on my LAN over HTTPS, and Amazon is out of the picture. But speech recognition, the conversation and the voice all go to OpenAI and cost money – this is something to optimize later. Few gotchas:
- Home Assistant served its HTTPS certificate without the intermediate chain. Browsers don’t care, the Echo does. It refused to download the audio until I fixed the fullchain.
- The Echo announced itself over an IPv6 address that nothing could reach, so after a reboot it took ages to reconnect. Two lines in
avahi-daemon.conf(use-ipv6=no,publish-aaaa-on-ipv4=no) and it comes back in about 53 seconds.
Then I unplugged the Pi, taped the three wires, closed the case and asked it what time it is. It told me. In Polish. Without asking Amazon.
Delegating to a bigger agent
A voice assistant that controls lights is a nice party trick, but I want it to be able to print coloring pages on demand, start complex projects and access the rest of my personal infrastructure.
- In n8n, one workflow with an MCP Server Trigger, called “Home Assistant MCP“. Every new tool for the assistant is another node in that workflow. I did not want 50 webhooks.
- In Home Assistant: Settings → Devices → Add integration → Model Context Protocol, paste the URL, then enable the tools in the OpenAI Conversation agent.
- The first and so far only tool is M5 Delegate. It hands the request to the agent running on my Mac (the M5), the one with all the skills: printer, label maker, Evernote, calendar. The prompt tells the model: if you can’t do it with your own tools, offer to delegate.
The first request through the whole chain was “print out a coloring page with a princess“. The assistant confirmed the job was accepted, the request went Home Assistant → n8n → Mac, the Mac generated a princess coloring page and the Brother in the office printed it. Nobody touched a screen.
Future compatibility
These rooted Alexas are future compatibe with Home Assistant pipeline. Once Home Assistant Voice Preview Edition catches up in terms of power, everything will work the same.
It’s the same on software front, I am experimenting with fully self hosted models to replace entire pipeline:
- Whisper for transcription
- Qwen 3.8 for the brains
- Omnivoice for local text to speech
My Alexas also serve as bluetooth beacon proxies. I can track any BLE beacon’s position around my house or use BT to communicate. It was a nice bonus.
Leave a Reply